
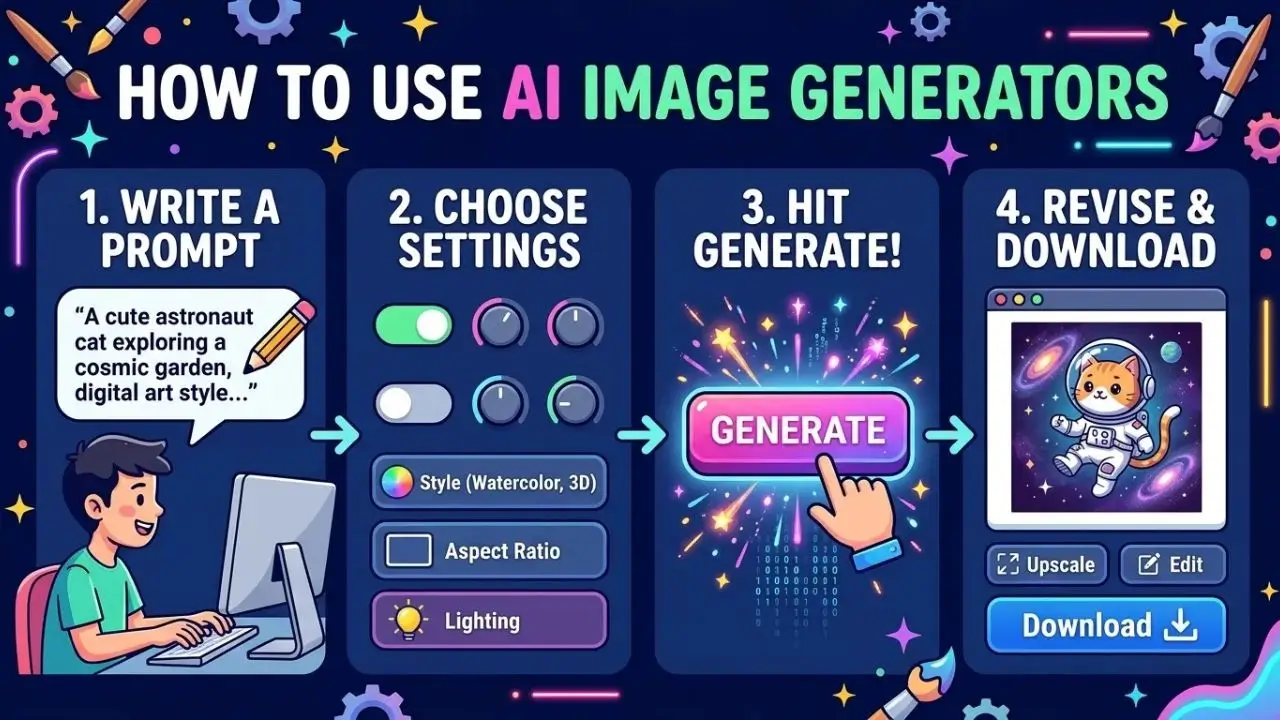
A good image can make an idea visible in an instant. But what if you can’t draw, or simply can’t find the right photo? How to Use AI Image Generators, you can turn a description into an image. Knowing how to use these tools effectively saves time and opens up new creative possibilities. In this guide, you will learn how to choose a generator, write clear prompts, refine your results, and use images responsibly.
1. What is an AI image generator?
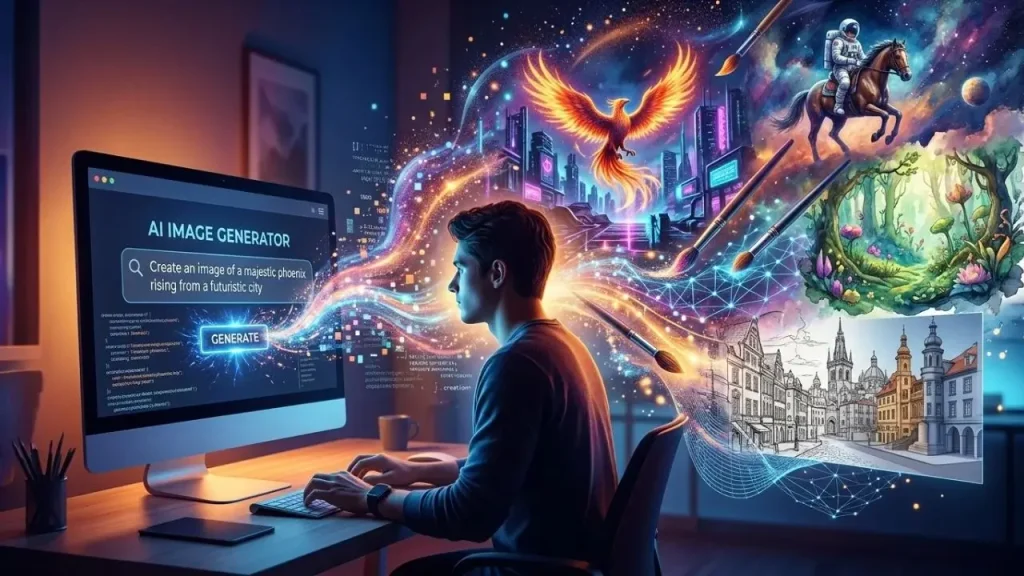
An AI image generator is a digital tool that creates an image based on a text input—a description known as a “prompt.” For example, you might write: “A little fox reading a book under an apple tree, in the style of a friendly children’s book illustration.” The program then attempts to depict these elements within an image.
Many services offer a variety of styles, such as photographic, comic-book, watercolor, or 3D. Some even allow you to modify an existing image. The results are not always perfect: details may be missing, hands might look strange, or words could be misspelled. Therefore, you should view the generated image as a draft that requires review.
Before you begin, consider your objective. A cover image for a technical article might require a calm background with space for a headline, whereas a birthday card could feature a colorful, playful design. Having a clear goal makes it easier to make the right choices.
2. How to Use AI Image Generators Choose a suitable tool
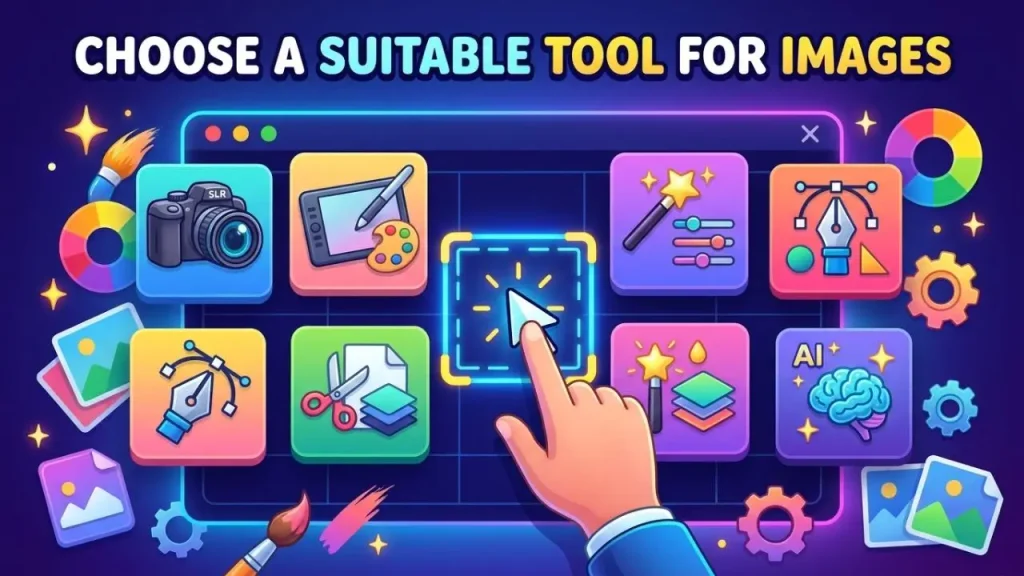
Compare a few image generators, paying attention to price, features, and terms of use. Some offer free trials, while others require an account or a subscription. Check whether you are permitted to download the images and use them for your intended purpose—the terms vary from one service to another.
Also, read the privacy policy. Do not upload private photos, addresses, passwords, or any other confidential information. If you are young, be mindful of age restrictions, and if you are unsure, ask a parent or a teacher. Only use images of other people if you have the appropriate permission.
Start with the basic settings. You can often choose the image format, size, or style. You don’t need to know every single feature; for a simple school project, a clear prompt and an appropriate image size are usually sufficient.
3. Write a strong prompt
A good description explains the subject, location, style, and mood. Instead of just writing “cat,” try: “An orange cat sitting on a windowsill, raindrops on the glass, warm morning light, soft storybook-style illustration.”
For more guidance on writing effective prompts, learn how to generate images from text prompts with Adobe Firefly.
Place the most important information at the beginning. Add details only if they truly add value—such as colors, perspective, background, or format. For an image of a tech product, you might write: “A smartphone on a clean desk, bright daylight, modern product photo, landscape orientation.” This helps the generator better understand exactly what you have in mind.
Keep the text clear and avoid contradictory requests. In most cases, you can start in German, provided the tool supports that language. If the result isn’t quite right, try rephrasing specific parts rather than rewriting the entire description from scratch every time.
4. Test variations and refine images
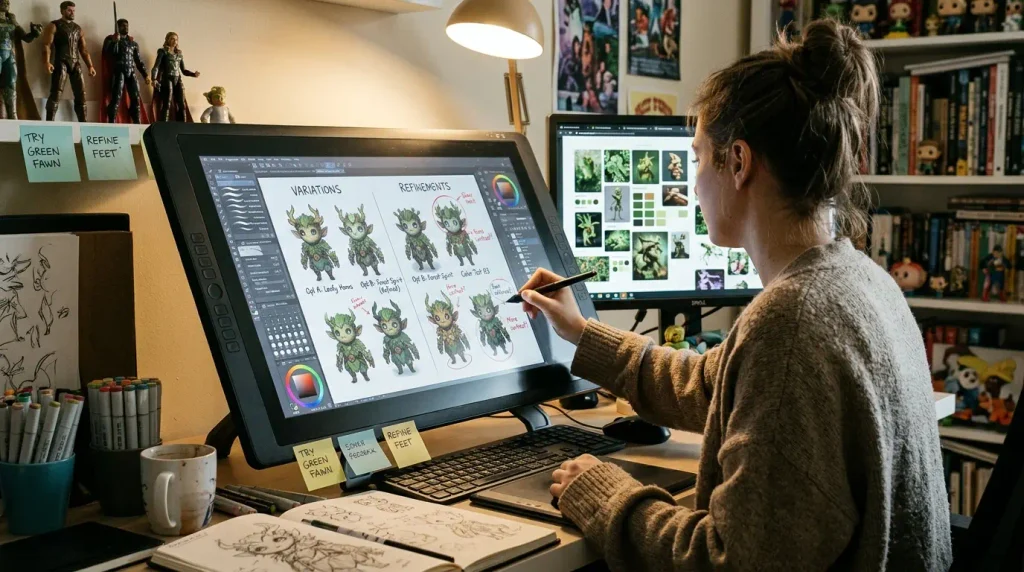
Start by creating one version—or several options, if the service allows it. Check whether the main subject is clearly recognizable and if the colors and mood are right. Select the best draft, then make a specific, targeted adjustment.
If the scene is too dark, add “bright daylight.” If the background looks cluttered, request a simple one. If a hand or an object appears odd, use a repair tool—if available—or generate a new variation. Save promising intermediate versions.
For blog images, the framing is important. Avoid placing key elements too close to the edges, as they might get cut off during cropping. Also, check how the image looks on a mobile device. A clean, uncluttered composition often works better than a scene with too many details.
5. Check image quality, rights, and fairness
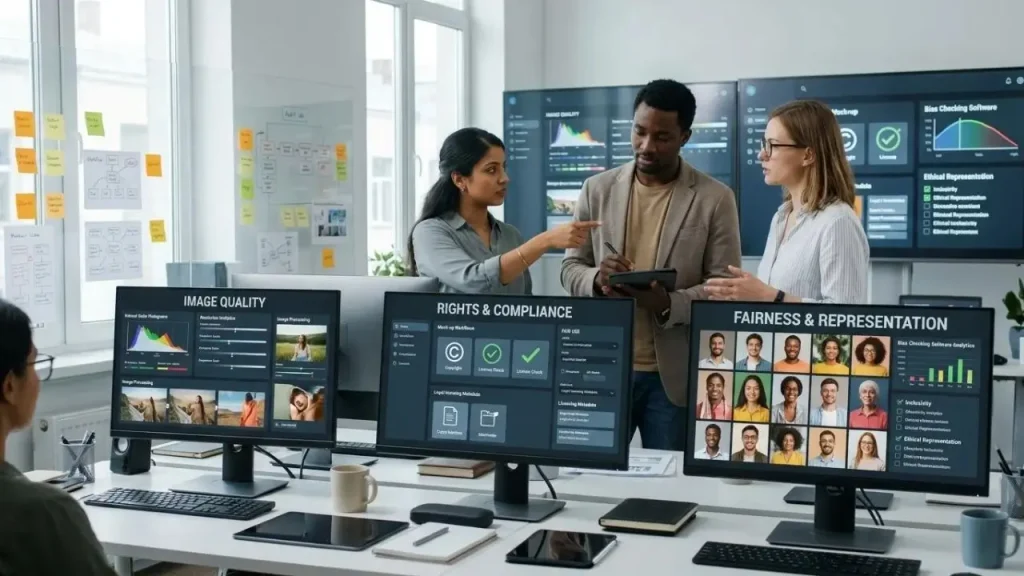
Review the finished image before publishing it. Look out for unnatural-looking body parts, random text, misplaced objects, or distracting visual artifacts. If the image is for a school project, ensure it aligns with the content and does not misrepresent key facts. AI-generated images are not reliable evidence of actual events.
Be mindful of copyright, terms of use, and personality rights. Do not use protected characters or real people in a way that could cause confusion or harm. If an image is AI-generated, label it whenever transparency is required or appropriate. For images used on a blog, including an “alt text” (alternative text) that provides an objective description of the subject is also helpful.
When creating images for a blog or a poster, ensure good readability. Avoid placing important elements near the edges, as they might be cropped out later. If possible, keep the original file and make a note of the service used to create it; this will be useful if any questions arise later.
Testing the image on different devices is a good way to verify colors, framing, and readability—and to spot any errors—before sharing it.
Fazit
Mit einer klaren Idee, einem genauen Prompt und einem prüfenden Blick kannst du KI-Bildgeneratoren besser nutzen. Beginne einfach, teste kleine Änderungen und wähle Bilder bewusst aus. So bleibt die Technik ein hilfreiches Werkzeug für deine Kreativität, statt deine eigenen Entscheidungen zu ersetzen.
Frequently Asked Questions (FAQs)
1. How do you use an AI image generator?
Choose an AI image generator, write a clear description of the image you want, and click “Generate.” Review the result and refine your prompt if necessary.
2. What information should a good AI image prompt include?
A good prompt describes the subject, background, colors, and desired style. For example: an orange cat by a window, warm lighting, in a friendly, cartoon-style drawing.
3. Can you use AI-generated images on a website?
Yes, it may be possible. However, always check the image generator’s terms of use, as well as any applicable copyright and personality rights, before publishing or using the images for commercial purposes.
